How to create a map quickly with the CartoVista Publisher?
This tutorial is a step-by-step introduction to make your first use of the CartoVista Publisher a real success. This is a quick overview to familiarize you with the tool and establish benchmarks.
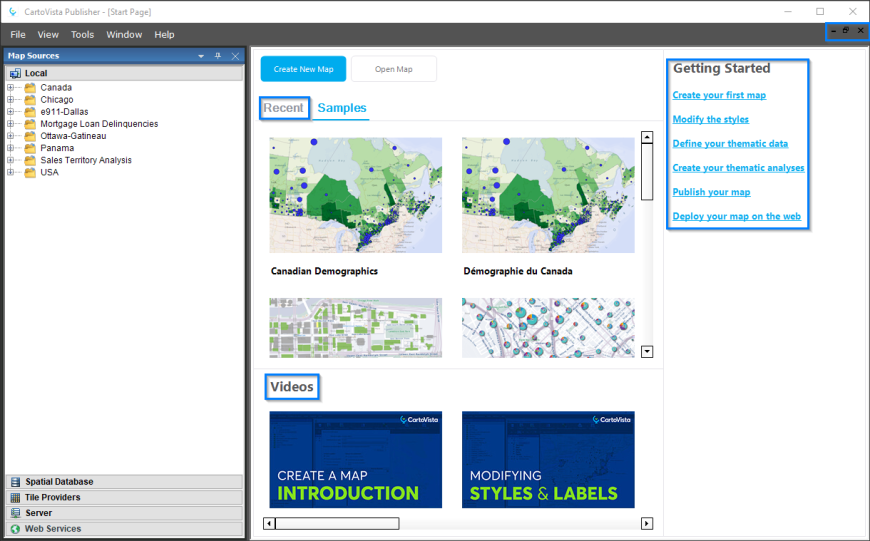
Start Page
When you open the CartoVista Publisher, a Start Page gives you quick links to your latest projects, video tutorials and access to our documentation. Close or minimize the window to begin creating your maps.
Tile Provider Integration
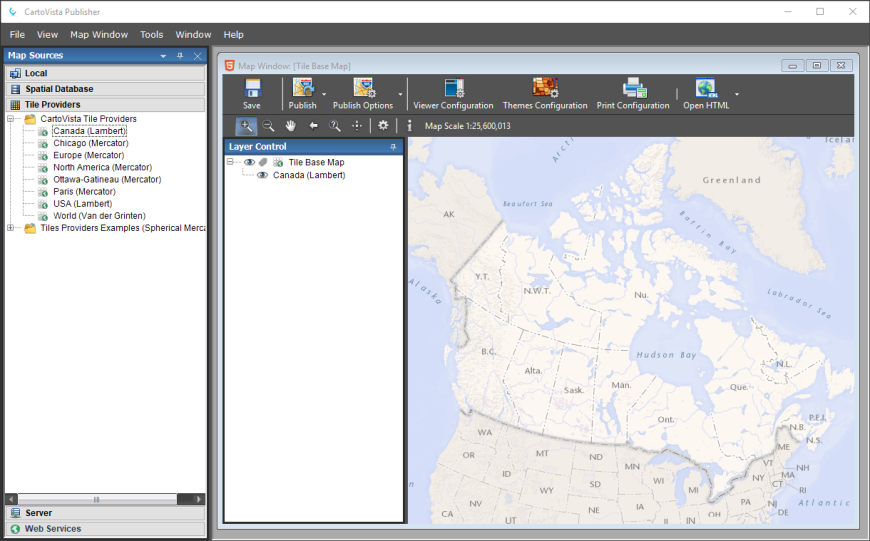
You are now on a gray background, ready for the first step: creating a map window. Let's start with the integration of a tile background. Select the Tile Providers tab at the bottom of the Map Sources Manager. Choose the desired tile provider and drag it into the grey background.
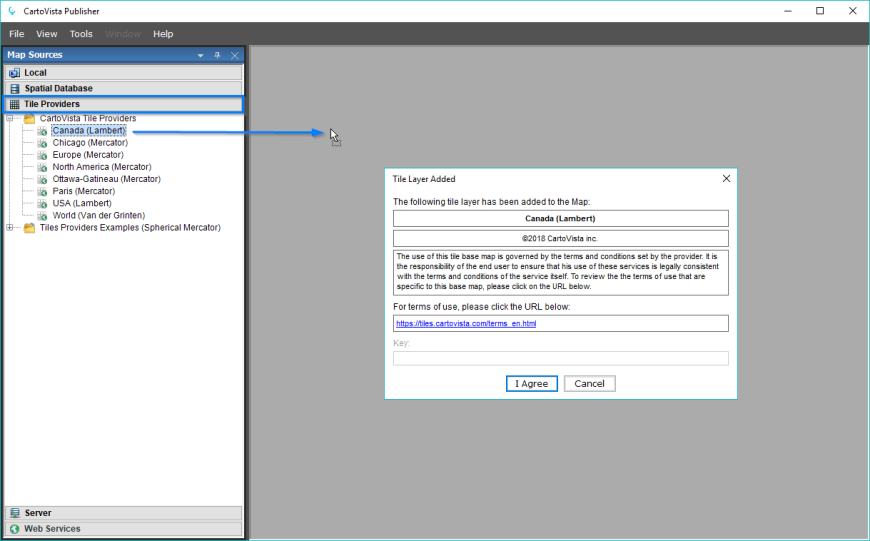
Accept the terms and conditions, and see your map take shape.
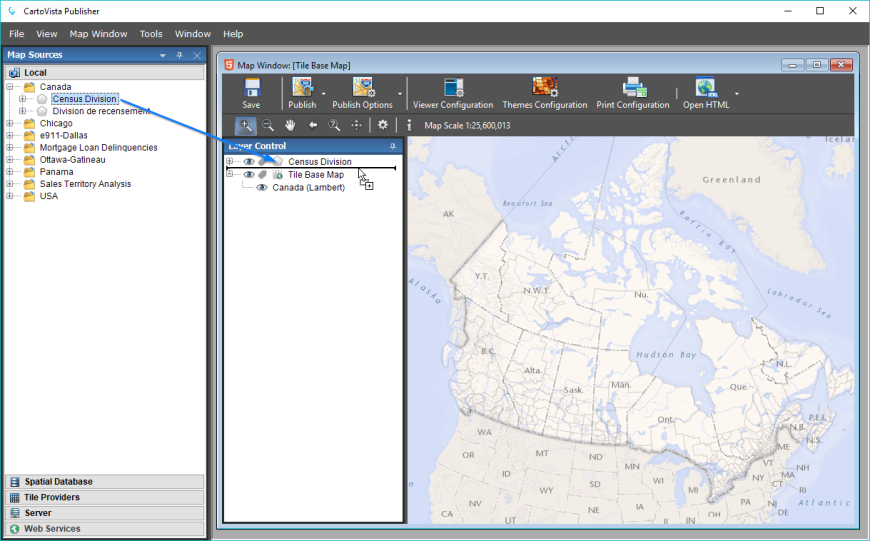
Adding Layers
Now, let's move to the step of adding map data. To use your own map files, right-click in the Local tab of the Map Sources Manager and select Add Local Map File.
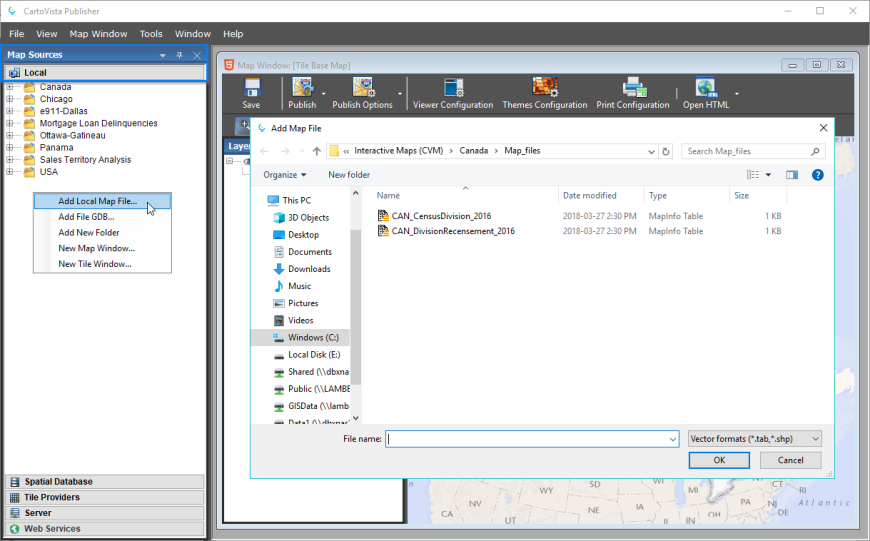
You can also use the data samples available in the CartoVista Publisher. Still in the Local tab, select the desired data layers and drag the files into the map.
Additional Options
Many options are now available to optimize your map, such as:
To conclude our overview of the CartoVista Publisher, we will immediately go to the Web publishing stage.
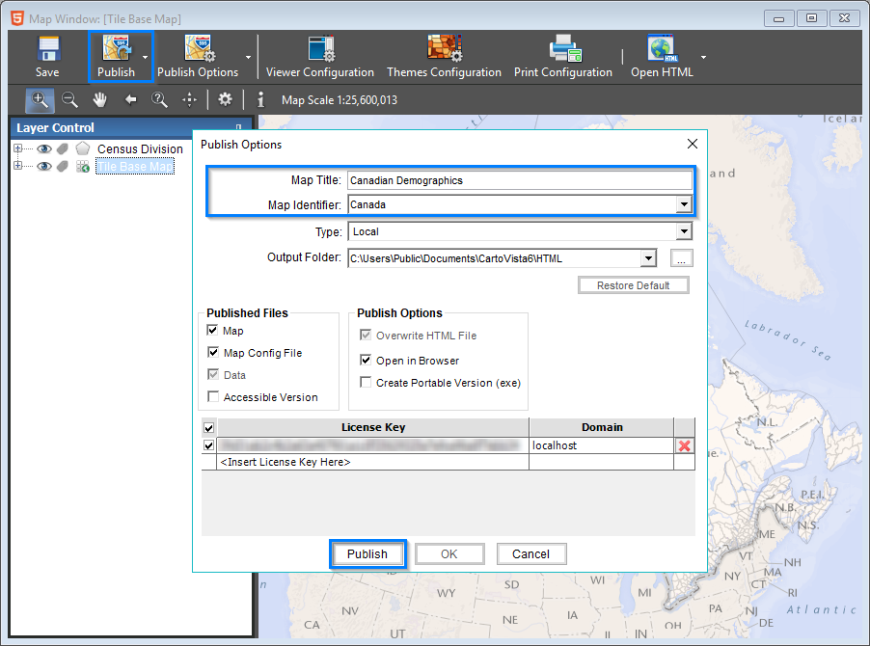
Web Publishing
To do this, simply click the Publish button. A window will appear which will allow you to give a title and an identifier to your map. Note that the title will be displayed in your map and the identifier will be the name of the directory in which the data will be published. You can now click Publish.
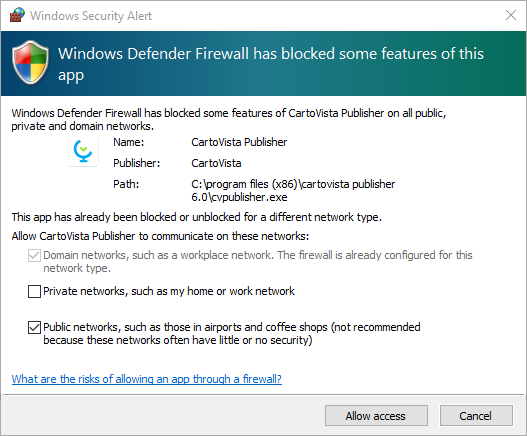
An authorization window will appear when you first publish a map with the CartoVista Publisher. This is a dialog generated by your operating system. It gives you the ability to view your map locally in your Web browser, without having to deploy it on a Web server. You just have to accept these requests for authorization. Once accepted, this window will no longer appear.
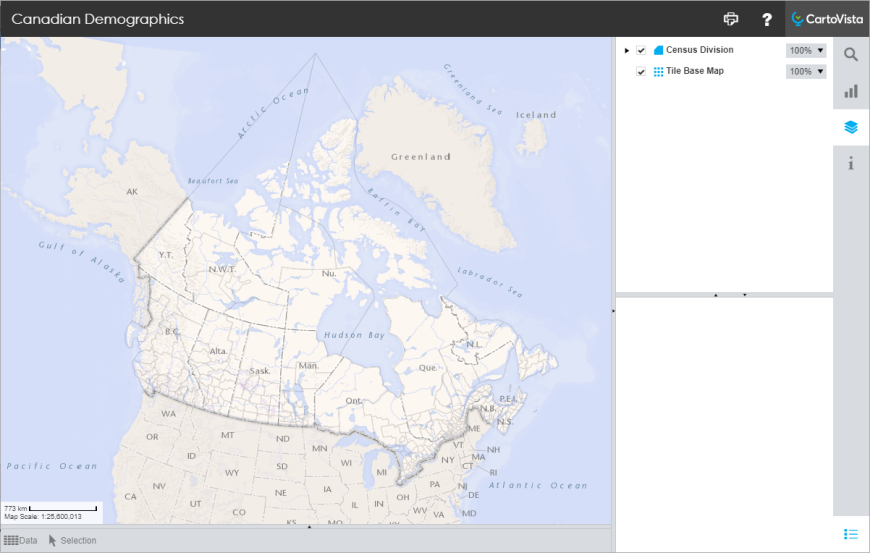
Your Web browser should now open, presenting your locally published map in the CartoVista Viewer!
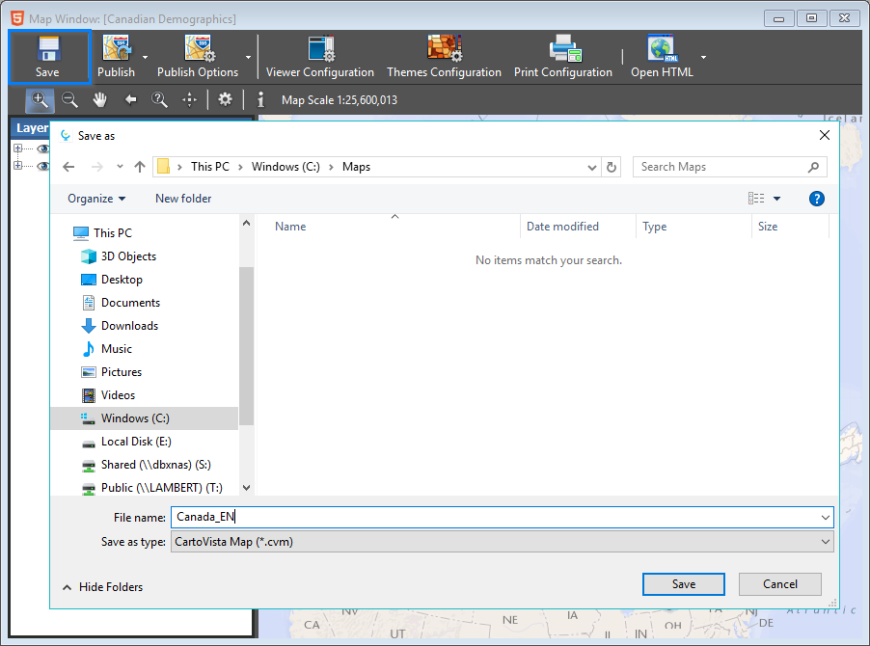
Saving your Map
At this point, we strongly suggest you back up your project by saving your map. To do this, simply go back to the CartoVista Publisher and press Save.
And that's how quickly you can use the CartoVista Publisher. Feel free to continue your exploration through other tutorial available.
Enjoy your map creation!